Contrary to popular belief, film is not an outdated and dying form of photography, it is, in fact, going through a renaissance. You might think that it is terribly expensive but it doesn't have to be.
Money saving tips:
-Search for generic, non branded films in stores or the internet. Also, for some funky results, search for old cartridges at the stores near you. Old film will give you really awesome results.
-Develop at home or search for megastores that do it cheap.
Shooting film tip:
-Take your time. You only have a maximum of 36 shots so you're better not go and spend 10 frames just to get that perfect picture so think well before you press the shutter release button.
The cameras:
-Lomo
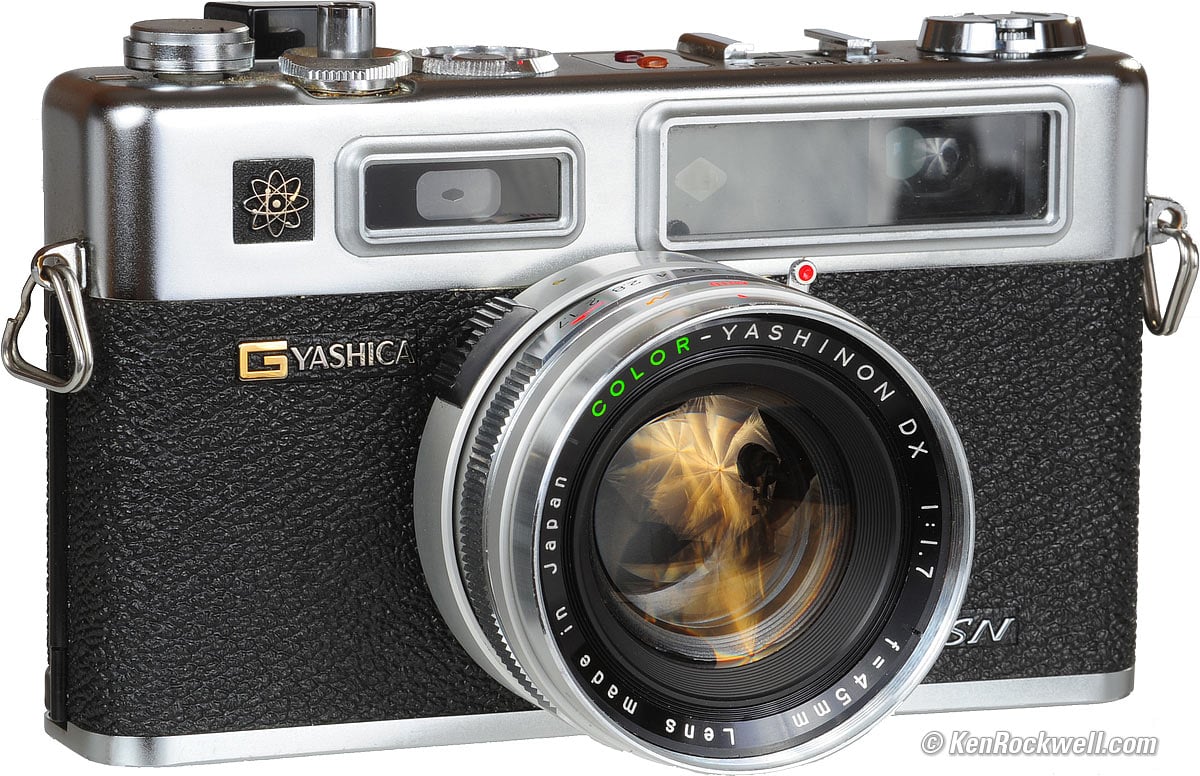
-Rangefinders
-SLRs
-All of these you can find easily on the internet or at flea markets.
Give it a try and then let me know the results. ;)
-Develop at home or search for megastores that do it cheap.
Shooting film tip:
-Take your time. You only have a maximum of 36 shots so you're better not go and spend 10 frames just to get that perfect picture so think well before you press the shutter release button.
The cameras:
-Lomo
-Rangefinders
-SLRs
-All of these you can find easily on the internet or at flea markets.
Give it a try and then let me know the results. ;)
.JPG)

.JPG)


